Securing Your Website With HTTPS

Why should I care if my site/app is secured via HTTPS?
There are several reasons why you should care and why you should be securing your site with HTTPS, not least of which:
- Using HTTPS makes any interaction between your website or app and your users or customers secure (i.e. all connections between client and server are encrypted and therefore secure). This will give your users or customers that extra degree of comfort and confidence in you and/or your brand or organisation by protecting both your users' and your own data and privacy. This connection could be something as simple as "contact us" form, or more complex such as membership sign ups, e-commerce transactions etc.
- HTTPS will improve your overall site performance.
- It will give your site a small SEO boost and give you the edge over competitors who are not using a secure connection. Google have been giving sites secured over HTTPS a better ranking since 2014, yet still only around 50% of sites are secured.
- Internet giants like Google and Apple are leading the charge in the push to secure all client/server connections for web and mobile sites and apps. In fact Apple will be enforcing App Transport Security for all IOS apps very soon. Chrome already flags insecure sites, and without a doubt, more will follow.
But aren't SSL certificates expensive?
Not necessarily.
While a separate SSL certificate can cost anything from £30 per year upwards, most hosting providers will offer you a free HTTPS service using Let's Encrypt. Rubber Duck Digital's hosting packages offer Let's Encrypt free of charge by default.
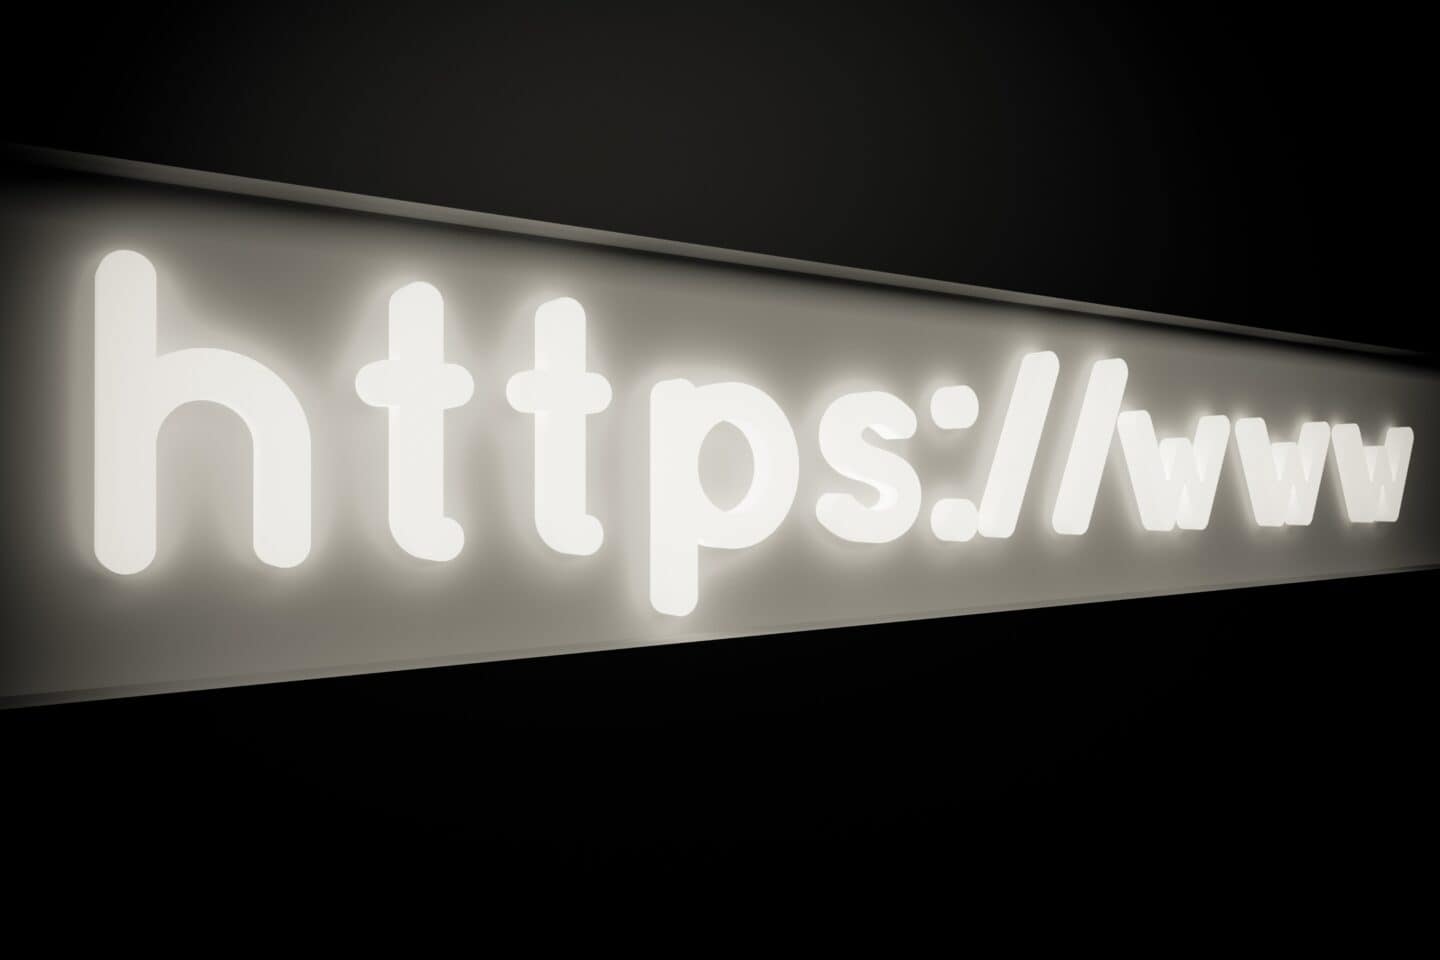
How do I check to see if my site is already secure?
Just navigate to your website and have a look at the address bar. Depending on which browser you are using you should see a padlock symbol and the word "Secure". If you see this, then your site is secure. If you don't then check out instructions below.


So how do I set this up?
If you have an existing site that you want to migrate from HTTP to HTTPS, and assuming your site is hosted on one of our servers and assuming you are using WordPress as its Content Management System (CMS), follow these steps: (if you are using a different server or a different CMS, please contact us for further assistance, or existing Rubber Duck Digital customers can create a support request).
Before you begin, create a backup of your WordPress installation, just in case you need to roll back.
- Enable Let's Encrypt via your Control Panel (this may differ slightly depending on which package or server you are using)
- Login to your Control Panel and scroll down to the security settings and click on Let's Encrypt

- On the next page, look for your domain under "Issue a new certificate" and click on the "+ Issue" link to the right
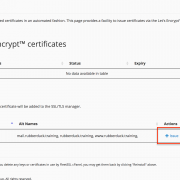
- Next, click the issue button on the next page
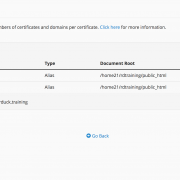
- The certificate will be issued and after a few seconds, you should see this confirmation screen

- Login to your Control Panel and scroll down to the security settings and click on Let's Encrypt
- Now we need to install the Really Simple SSL Pro Plugin. This is important as this plugin will walk you through the final switch over from HTTP to HTTPS without having to edit any of your files manually. You can skip this installation if you are comfortable editing the WP settings, .htaccess files, setting up 301 redirects and checking and editing non https URLs.
- Go to the Really Simple SSL site to purchase a single site PRO licence for this plugin. Install the PRO version and activate.
- Follow the installation instructions for Really Simple SSL Pro, including running a full scan for non-https JS and CSS URLs and fix any that show up in the scan results.
- Once you have completed this step you are done with changes to the site, site settings and files.
- If your site is tracked with Google Analytics-GA (or any other analytics service) as it should be, then login to your account and ensure that you change the settings to HTTPS.
In GA, this is set under Admin > Property Settings. Change Default URL from HTTP to HTTPS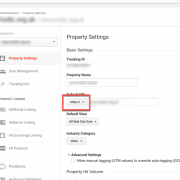
- Google Search Console and Bing Webmaster Tools
If you have these set up, then you will need to create new profiles for both Google and Bing as, at the time of writing this, there is no way to simply update URLs, so create new properties in both Google and Bing for HTTPS and treat them as new properties, i.e. submitting site maps, checking and testing robots.txt files etc.


If you have an existing site that you think should be secured, or if you want to discuss developing a new, secure, responsive website or app, feel free to contact Rubber Duck Digital for an informal chat, or if you would like us to carry out a free digital health check on your existing site, please use the form below:
"*" indicates required fields